Introduction
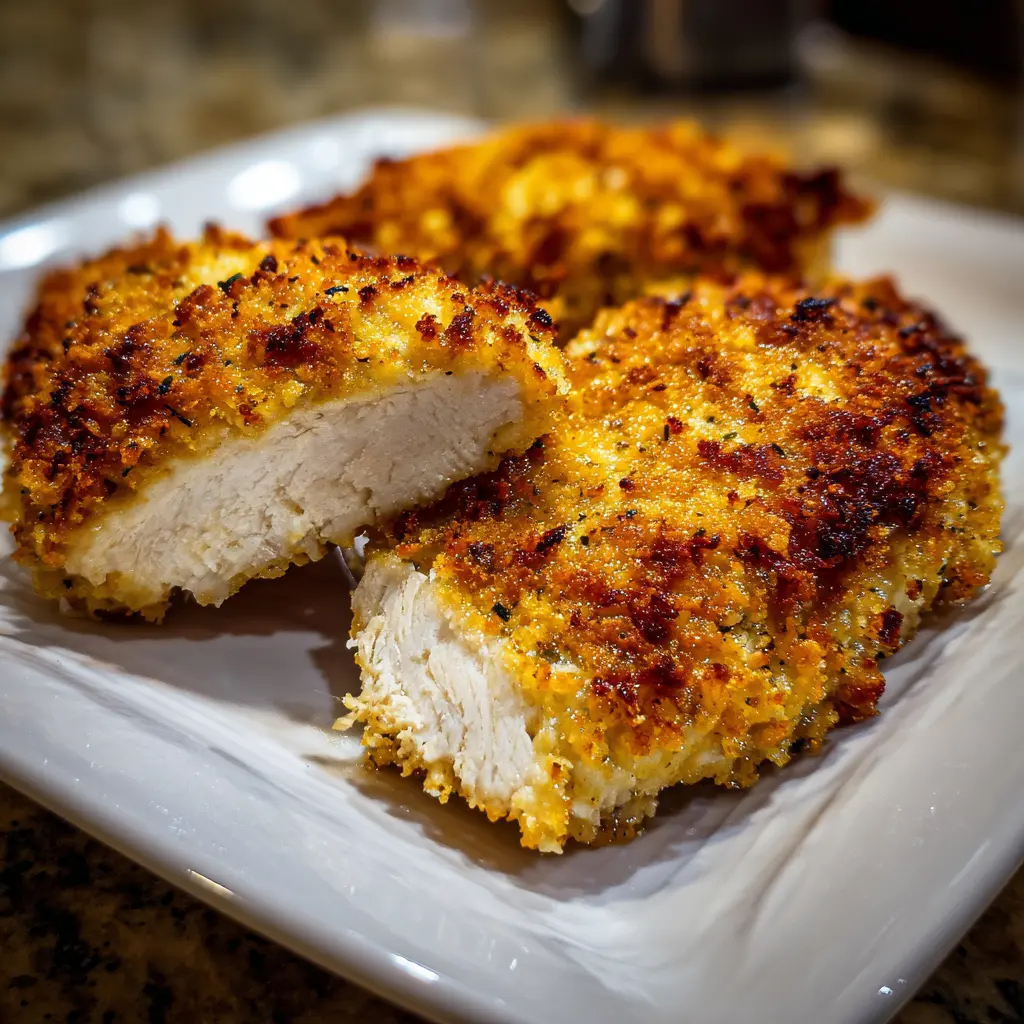
Crispy baked chicken breast is one of those simple meals that feels both comforting and satisfying. It is perfect for busy weeknights when you want something quick, flavorful, and healthier than fried chicken. The magic of this recipe lies in the balance between a crunchy exterior and a tender, juicy interior. Baking the chicken at the right temperature while using a well-seasoned coating creates that irresistible crispiness without the need for deep frying.
I remember the first time I tried making crispy baked chicken at home. I experimented with a mixture of breadcrumbs, spices, and a light coating of oil, and the result was surprisingly good. The outside turned beautifully golden while the inside stayed moist and flavorful. Since then, this recipe has become a regular part of my meal rotation because it is easy to prepare and pairs well with almost any side dish.
Whether you serve it with roasted vegetables, mashed potatoes, or a fresh salad, this crispy baked chicken breast is a reliable and delicious choice for any dinner table.
Print
Crispy Baked Chicken Breast: Perfectly Juicy Inside with a Golden Crunch
- Total Time: 30 minutes
- Yield: 2 servings
- Diet: Halal
Description
Juicy chicken breasts coated in a flavorful crispy crust and baked in the oven until golden and tender.
Ingredients
- 2 large chicken breasts (boneless, skinless)
- 1/2 cup breadcrumbs (preferably panko)
- 1/4 cup grated Parmesan cheese
- 1 teaspoon garlic powder
- 1 teaspoon paprika
- 1/2 teaspoon salt
- 1/2 teaspoon black pepper
- 1/2 teaspoon dried oregano
- 1 egg
- 1 tablespoon milk
- 2 tablespoons olive oil or melted butter
Instructions
- Preheat the oven to 400°F (200°C) and line a baking sheet with parchment paper or lightly grease it.
- Pound the chicken breasts to an even thickness to ensure even cooking.
- In a shallow bowl, whisk together the egg and milk.
- In another bowl, combine breadcrumbs, Parmesan cheese, garlic powder, paprika, oregano, salt, and black pepper.
- Dip each chicken breast into the egg mixture, allowing excess to drip off.
- Coat the chicken in the breadcrumb mixture, pressing gently so the coating sticks well.
- Place the coated chicken breasts on the prepared baking sheet and drizzle lightly with olive oil or melted butter.
- Bake for 18–22 minutes or until the chicken is cooked through and the coating is crispy and golden brown (internal temperature should reach 165°F / 74°C).
- Let the chicken rest for a few minutes before serving.
Notes
- Panko breadcrumbs create a crispier texture than regular breadcrumbs.
- For extra flavor, add a pinch of chili flakes or Italian seasoning to the coating.
- Use a wire rack on the baking sheet to allow air circulation for an even crisp.
- Cooking time may vary depending on the thickness of the chicken breasts.
- Prep Time: 10 minutes
- Cook Time: 20 minutes
- Category: Main Course
- Method: Baking
- Cuisine: American
Ingredients
(Tip: You can find the complete list of ingredients and their measurements in the recipe card below.)
Chicken Breast
Boneless, skinless chicken breasts are the star of this recipe. They cook evenly in the oven and provide a lean source of protein. I usually pound them slightly to create an even thickness, which helps them bake more uniformly and prevents dry edges.
Breadcrumbs
Breadcrumbs are essential for creating the crispy outer layer. Panko breadcrumbs work particularly well because they are lighter and create a crunchier texture. If you prefer a finer coating, traditional breadcrumbs also work nicely.
Parmesan Cheese
Grated Parmesan cheese adds a savory, slightly nutty flavor to the coating. It also helps the crust become more golden and crisp as the chicken bakes in the oven.
Eggs
Eggs act as the binding agent in this recipe. When the chicken is dipped into the beaten eggs before the breadcrumb mixture, it helps the coating stick securely and bake into a crisp layer.
Olive Oil
A small drizzle of olive oil helps the breadcrumb coating brown evenly while baking. It enhances the crispiness and adds a subtle richness to the overall flavor.
Garlic Powder
Garlic powder gives the chicken a warm, savory depth. It blends well into the breadcrumb mixture and distributes the flavor evenly across the coating.
Paprika
Paprika adds both color and a mild smoky flavor to the crust. It helps create that appealing golden tone on the finished chicken.
Salt
Salt enhances the natural flavor of the chicken and balances the seasoning in the coating mixture.
Black Pepper
Freshly ground black pepper adds a subtle kick and rounds out the seasoning blend.
Directions
Start by preheating your oven to 400°F (200°C) and lining a baking sheet with parchment paper or lightly greasing it to prevent sticking.
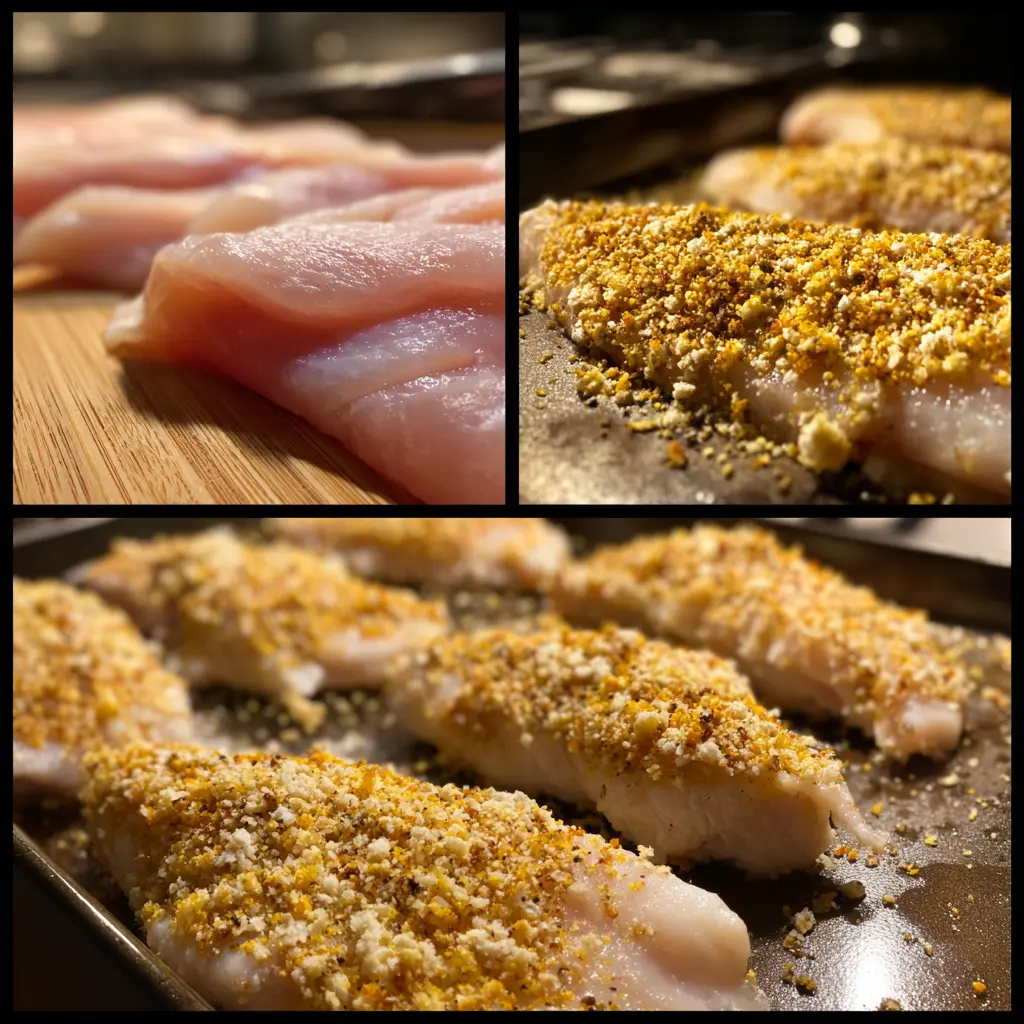
Prepare the chicken breasts by patting them dry with paper towels. If the pieces are thick, gently pound them to an even thickness using a meat mallet or rolling pin. This step helps the chicken cook evenly and keeps it tender.
In one bowl, beat the eggs until smooth. In another shallow bowl, combine the breadcrumbs, grated Parmesan cheese, garlic powder, paprika, salt, and black pepper. Mix the dry ingredients thoroughly so the seasoning is evenly distributed.
Dip each chicken breast first into the egg mixture, making sure it is fully coated. Then press it into the breadcrumb mixture, turning and pressing lightly so the coating sticks well on all sides.
Place the coated chicken breasts on the prepared baking sheet. Lightly drizzle or spray olive oil over the tops to encourage crisp browning during baking.
Bake the chicken in the preheated oven for about 20–25 minutes, depending on thickness. The coating should become golden brown and crisp while the chicken cooks through.
For extra crispiness, you can switch the oven to broil for the final two minutes. Allow the chicken to rest for a few minutes before serving to keep it juicy.
Equipment needed : Must-Have Tools to Get Rolling
Must-Have Tools to Get Rolling
Here’s what you’ll want to have on hand:
Silicone Spatula – Durable, heat-resistant silicone spatula perfect for mixing, scraping, and spreading. Gentle on non-stick cookware and easy to clean.
Large pot – You’ll need this to boil the whole cabbage head and soften the leaves.
large bowl –Spacious, durable large bowl ideal for mixing, serving, or food preparation. Made from sturdy material and easy to clean.
Sharp knife – For coring the cabbage and slicing out the thick stem in each leaf. A paring knife works best.
Mixing bowl – A big bowl makes it easier to combine your meat and rice filling evenly.
Cutting board – For prepping cabbage leaves and rolling them like a pro.
Full-Size Blender – is a powerful kitchen appliance for making smoothies, soups, and sauces in large batches.
3-in-1 Air Fryer – This versatile 3-in-1 air fryer offers Air Fry for healthier meals with less oil, Bake for bakery-quality desserts and treats, and Reheat to bring leftovers back to life with crispy, flavorful results
Servings and timing
This recipe typically serves 4 people.
Preparation time: 10 minutes
Cooking time: 20–25 minutes
Total time: approximately 35 minutes
Storage/reheating
Leftover crispy baked chicken breast can be stored in an airtight container in the refrigerator for up to three days. When reheating, the oven works best for preserving the crispy texture. Place the chicken on a baking sheet and warm it in a 350°F (175°C) oven for about 10–12 minutes.
Avoid microwaving if possible, as it can soften the crispy coating. If you need a quick reheating method, using an air fryer for a few minutes can help restore the crunchy exterior.
For longer storage, the cooked chicken can be frozen for up to two months. Allow it to cool completely before wrapping it tightly and placing it in a freezer-safe container.

Variations and Customizations
This crispy baked chicken breast recipe is very versatile and can easily be customized depending on your taste preferences or dietary needs.
One popular variation is adding herbs to the breadcrumb mixture. Dried oregano, thyme, or Italian seasoning can introduce a more aromatic flavor profile. I once added a bit of rosemary and it gave the chicken a wonderful earthy taste.
If you enjoy a spicier version, you can mix a small amount of cayenne pepper or chili powder into the coating. This adds a subtle heat that pairs nicely with the crispy crust.
For a gluten-free option, substitute regular breadcrumbs with gluten-free breadcrumbs or crushed gluten-free crackers. The result remains crispy and flavorful without altering the cooking method.
You can also experiment with different cheeses. While Parmesan is classic, shredded cheddar or Pecorino Romano can add a slightly different depth of flavor.
Another variation involves adding crushed cornflakes instead of breadcrumbs. This creates an extra crunchy crust that many people enjoy. It is a trick I tried once when I ran out of breadcrumbs, and it worked surprisingly well.
If you prefer a lighter version, you can skip the cheese and rely on seasoned breadcrumbs alone. The chicken will still develop a crispy coating while remaining lower in fat.
Finally, consider slicing the cooked chicken and using it in salads, wraps, or sandwiches. The crispy texture adds a satisfying crunch to many different dishes.
Nutrition and Dietary Info
| Nutrient | Amount per Serving |
|---|---|
| Calories | 320 |
| Protein | 38 g |
| Carbohydrates | 12 g |
| Fat | 13 g |
| Saturated Fat | 3.5 g |
| Fiber | 1 g |
| Sugar | 1 g |
| Sodium | 520 mg |
Expert Tips & Customizations
Use Evenly Sized Chicken
Pounding the chicken breasts to an even thickness helps them cook at the same rate and prevents dry edges.
Preheat the Oven Properly
A fully preheated oven ensures the coating begins crisping immediately instead of becoming soggy.
Do Not Overcrowd the Pan
Leave space between the chicken pieces so hot air can circulate and create a crisp crust.
Use Panko for Extra Crunch
Panko breadcrumbs create a lighter and crunchier texture compared to regular breadcrumbs.
Rest the Chicken Before Serving
Let the chicken rest for a few minutes after baking so the juices redistribute and the meat stays tender.
FAQs
How do I keep baked chicken breast from drying out?
Ensuring the chicken breasts are evenly thick and not overcooking them helps maintain moisture. Baking at a high temperature also seals in the juices.
Can I make this recipe in an air fryer?
Yes, you can cook the breaded chicken breasts in an air fryer at 375°F (190°C) for about 15–18 minutes, flipping halfway through.
Can I prepare the chicken ahead of time?
You can bread the chicken a few hours in advance and store it in the refrigerator until you are ready to bake it.
What side dishes go well with crispy baked chicken?
Roasted vegetables, mashed potatoes, rice, or a fresh green salad are excellent choices.
How do I know when the chicken is fully cooked?
The internal temperature should reach 165°F (74°C) when checked with a meat thermometer.
Can I use chicken thighs instead of chicken breasts?
Yes, boneless chicken thighs can be used and will result in a slightly juicier texture, though the cooking time may increase slightly.
Conclusion
Crispy baked chicken breast is a simple yet incredibly satisfying dish that delivers both flavor and texture. The crunchy golden coating combined with juicy chicken makes it a dependable recipe for both weeknight dinners and casual gatherings. With a few basic ingredients and easy preparation steps, you can create a meal that feels both comforting and impressive. Once you try this method, it may quickly become one of your favorite ways to prepare chicken at home.
Hungry for more? Visit our website for full recipes and follow us on Pinterest for daily foodie inspo you’ll love to pin!